


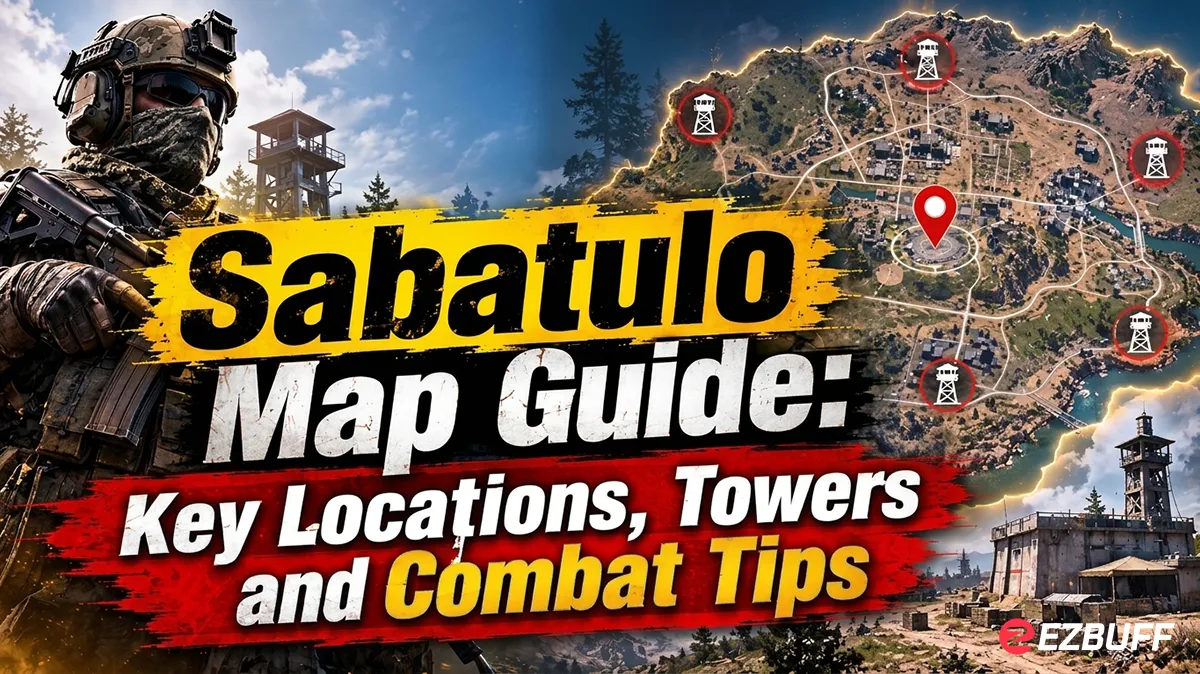
WARDOGS Season 3 introduces Sabatulo, the game's first dedicated urban battlefield, bringing a completely different combat experience to Early Access. Released with Update 0.3.0 on November 12, 2026, the new map replaces wide-open engagements with dense city streets, towering buildings, narrow corridors, and strategically important high-ground positions.
Unlike traditional open-field battles, Sabatulo rewards squads that understand the relationship between control zones, tower positions, building access, and vertical combat. Players must constantly adapt their movement and positioning to avoid ambushes while maintaining control of important objectives.
Whether you are learning the map for the first time or looking for more effective ways to support your squad, this WARDOGS Sabatulo map guide covers its major locations, tower positions, and practical combat strategies.
WARDOGS Season 3: What Makes the Sabatulo Map Different?
Sabatulo is WARDOGS' first city-focused map, designed around close-quarters engagements and vertical battlefield control. Its dense urban environment creates multiple approaches to every objective, allowing infantry squads, vehicle crews, and support players to contribute in different ways.
The map measures approximately 16.32 × 16.32 kilometers, with the main combat activity concentrated around four possible Control Zone locations.
Some of its most important environmental features include:
- Central Hospital: A multi-level building that provides interior combat routes and elevated positions.
- Swimming Pool: An identifiable urban landmark that helps players navigate the city.
- Power Station: An important industrial landmark within the urban environment.
- River Embankment: A lower-elevation approach that creates different sightlines and movement opportunities.
- High-Rise Buildings: Structures that provide rooftop access, defensive positions, and opportunities for ambushes.
The biggest difference is how quickly the battlefield can change. A squad controlling the streets may still be vulnerable to enemies holding elevated positions, while players pushing through buildings can encounter opponents waiting around staircases and narrow corridors.
Four Major Control Zones You Need to Know
Sabatulo features four possible Control Zone locations: Hospital, Bazaar, River, and Hillside. These locations are relatively close to one another, meaning squads can reposition between objectives without completely abandoning the central battlefield.
Each location offers different terrain advantages and combat challenges.
1. Hospital: The Most Important Urban Strongpoint
Hospital is one of the most strategically significant locations on Sabatulo. Its multi-level interior, surrounding buildings, and elevated rooftop positions create several opportunities for close-range engagements.
The surrounding structure includes corridors, staircases, and connected interior spaces. These features make it difficult for attackers to advance without checking their corners and maintaining communication.
Combat tips:
- Use SMGs and shotguns when clearing interior rooms.
- Check staircases and connecting corridors before moving between floors.
- Use smoke grenades to reduce enemy visibility during objective pushes.
- Coordinate with teammates before attempting to capture elevated positions.
Players should avoid rushing through the hospital alone. A coordinated squad can secure the building much more effectively by covering entrances and controlling different floors.
2. Bazaar: Watch the Surrounding Rooftops
Bazaar offers a different type of urban combat, with relatively flat terrain around its Hot Zone and several buildings that provide useful elevated positions.
The rooftops south of the central area can provide visibility over nearby streets and approaches toward the River zone. However, reaching these positions requires attention to ladders and exposed access points.
Combat tips:
- Scout nearby rooftops before entering the objective.
- Use elevated positions to identify enemy movement.
- Keep an eye on southern street approaches.
- Avoid remaining in one exposed position for too long.
Bazaar is particularly suitable for squads that combine infantry pushes with overwatch support.
3. River: Control the Valley and Higher Ground
River features lower terrain around its objective area, creating an important elevation difference between the river valley and surrounding ridges.
This makes positioning especially important. Players holding higher ground can monitor enemy movement and establish effective firing angles against squads approaching from below.
The nearby Drill Tower positions also make this area worth contesting.
Combat tips:
- Check the surrounding ridgelines before entering the objective.
- Use smoke to cover exposed approaches.
- Secure elevated positions when possible.
- Avoid crossing open ground without support.
The River area can become particularly dangerous when the opposing team has already established overwatch positions.
4. Hillside: Use the Eastern Slope
Hillside features higher terrain toward its eastern side, giving defenders an opportunity to watch approaches into the objective.
Players attacking from River should pay attention to the elevation change, as moving uphill can expose infantry to enemies holding defensive positions.
Combat tips:
- Scout the eastern slope before advancing.
- Use buildings and terrain to break enemy sightlines.
- Coordinate attacks from multiple directions.
- Avoid allowing defenders to control the surrounding high ground uncontested.
Hillside rewards teams that understand how elevation affects visibility and movement.
All Five Drill Tower Locations Explained
Drill Towers are among the most important tactical features on Sabatulo. There are five towers distributed around the central combat areas, and capturing enemy-controlled towers can provide additional cash and XP.
Their elevated platforms also create valuable observation positions, allowing players to monitor nearby streets and objective approaches.
Here is a breakdown of the five towers and their nearest Control Zones.
| Drill Tower | Nearest Control Zone | Approximate Distance |
|---|---|---|
| Tower 1 | Hospital | 113 m |
| Tower 2 | Bazaar | 208 m |
| Tower 3 | River | 260 m |
| Tower 4 | River | 417 m |
| Tower 5 | Hillside | 191 m |
Tower 1 is particularly interesting because it sits on the Hospital rooftop. Its elevated position provides a different perspective from the other four towers.
Towers 2 through 5 share a more similar structure, with multiple ladder access points and platforms at different heights.
Why should you capture Drill Towers?
- They provide valuable elevated observation positions.
- They help squads control important approaches.
- Capturing enemy towers can generate additional rewards.
- Their positions can influence how teams defend nearby objectives.
According to Season 3 map data, capturing an enemy Drill Tower can award $1,500 and 300 XP, while other tower captures have a lower base reward. Repeated captures may reduce the rewards, so players should prioritize meaningful objective control rather than repeatedly chasing the same activity.
Rooftops, Ladders and Vertical Combat
Vertical combat is one of the defining characteristics of Sabatulo. Unlike open maps, where long-distance visibility often determines engagements, the city environment forces players to constantly consider building height, access routes, and nearby cover.
Sabatulo contains numerous ladders, including those connected to the five Drill Towers.
However, not every rooftop provides a major tactical advantage. Many surrounding buildings are relatively low, making tower platforms particularly useful for gaining visibility above the surrounding structures.
Players should pay attention to three important factors:
1. Rooftop Access
Ladders create predictable routes to elevated positions. Always check whether enemies can approach your position through an exposed ladder.
2. Sightlines
A rooftop can provide excellent visibility, but it can also expose your position to enemies holding another elevated angle.
3. Escape Routes
Never enter an elevated position without considering how your squad will retreat. A strong defensive position becomes dangerous when enemies control its only access route.
Parachutes can also influence movement around elevated structures. Players should check the current equipment requirements and deployment conditions before attempting rooftop jumps.
Best Combat Strategies for Winning on Sabatulo
Understanding the map is only part of the challenge. Players must also adapt their equipment, squad roles, and movement according to the active objective.
Here are several practical strategies for improving your performance.
Prioritize Objectives Instead of Chasing Every Fight
Sabatulo offers plenty of opportunities for individual engagements, but eliminating enemies does not automatically translate into objective control.
Assign teammates to different responsibilities. Some players should focus on capturing objectives, while others provide overwatch or defend important access routes.
Use Smoke Grenades During Open Crossings
Urban environments provide plenty of cover, but some streets and open areas remain dangerous.
Smoke grenades can help infantry cross exposed sections, enter buildings, and reposition between nearby objectives.
Combine Close-Range and Long-Range Weapons
Hospital and other interior spaces favor weapons suited to close-range encounters. However, squads also need players capable of engaging enemies across streets and elevated positions.
A balanced squad composition is generally more effective than having everyone use the same weapon type.
Secure High Ground Before Starting a Major Push
Before attacking a heavily defended objective, check nearby towers and rooftops.
An enemy squad overlooking your approach can make an otherwise straightforward capture extremely difficult. Securing an elevated position first can improve visibility and reduce the risk of unexpected attacks.
Keep Vehicle Routes and Reinforcements in Mind
Sabatulo is a large map despite its concentrated urban combat area. Players should consider how reinforcements and supply routes affect their team's ability to maintain pressure.
Vehicle support can be particularly valuable when squads need to move between distant faction bases and the central battlefield.
Cash and XP Rewards: How to Make Progress in Season 3
Cash and XP remain important parts of WARDOGS' progression system. Players need in-game currency to access equipment, vehicles, and other useful battlefield resources.
Season 3 introduces several objective-related opportunities that can reward active participation.
| Activity | Reported Reward |
|---|---|
| Entering a Control Zone outside the Hot Zone using a spawn vehicle | $3,000 and 500 XP |
| Entering a Control Zone outside the Hot Zone by other means | $250 |
| Capturing a friendly or neutral Drill Tower | $250 and 100 XP |
| Capturing an enemy Drill Tower | $1,500 and 300 XP |
These rewards make objective participation an important part of progression. Instead of spending an entire match chasing individual eliminations, players can contribute to their team's performance while earning useful resources.
Players looking to manage their progression and equipment budget can also keep track of their Wardogs Cash requirements. If you are researching ways to obtain additional in-game resources, Buy Wardogs Cash is a relevant option to explore through EZBUFF.
However, players should always prioritize legitimate progression methods and check current game rules before using any third-party service.
Final Tips Before Deploying on Sabatulo
Sabatulo changes the way WARDOGS players approach combat. Its narrow streets, multi-level buildings, five Drill Towers, and four possible Control Zones create a battlefield where positioning and coordination are just as important as weapon accuracy.
Before deploying, remember these key points:
- Learn the Hospital, Bazaar, River, and Hillside layouts.
- Identify nearby Drill Towers before pushing an objective.
- Watch rooftops and ladders for enemy movement.
- Use smoke to cross exposed streets.
- Keep a balanced combination of close-range and long-range weapons.
- Coordinate vehicle support and reinforcement routes.
- Focus on objective rewards instead of unnecessary engagements.
Season 3 gives WARDOGS players a fresh urban battlefield to master. For players who want to improve their combat efficiency and progression, understanding Sabatulo's layout is one of the best places to start.
Keep following EZBUFF for more WARDOGS guides, progression tips, and updates on Wardogs Cash.
