


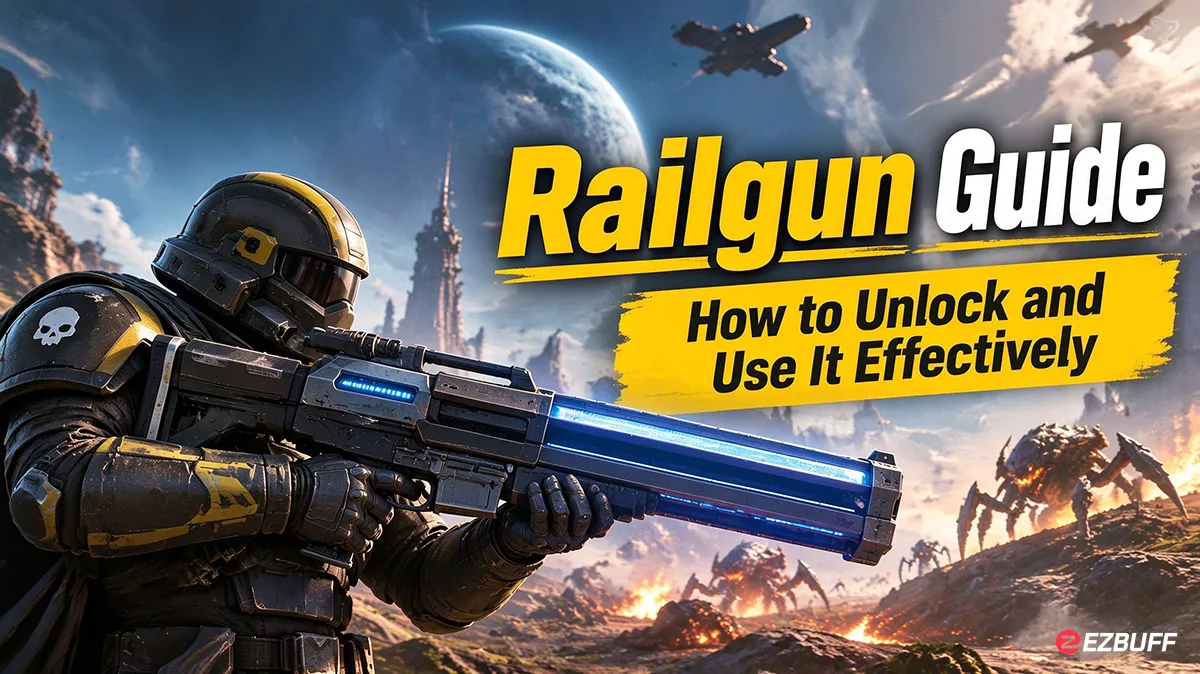
The Railgun is one of the most recognizable anti-armor support weapons in Helldivers 2. Designed to deliver powerful, precision-based shots, this experimental weapon is particularly effective against heavily armored enemies and dangerous Automaton units. However, unlike conventional support weapons, the Railgun requires players to manage its charging mechanic carefully to maximize damage without risking an accidental explosion.
For players looking to improve their battlefield performance, understanding how to unlock the Railgun, switch between its firing modes, and target enemy weak points is essential. This guide covers everything you need to know about obtaining and using the Railgun effectively.
How to Unlock the Railgun in Helldivers 2
The RS-422 Railgun is a Support Weapon Stratagem that becomes available through the Patriotic Administration Center once players reach Level 20.
Unlike weapons obtained through Warbonds, the Railgun is purchased directly using Requisition Slips, making it a straightforward progression target for players who regularly complete missions and collect rewards.
Railgun Unlock Requirements:
| Requirement | Details |
|---|---|
| Required Level | Level 20 |
| Unlock Cost | 10,000 Requisition Slips |
| Category | Support Weapon |
| Unlock Location | Patriotic Administration Center |
| Stratagem Code | Down, Right, Down, Up, Left, Right |
| Cooldown | 480 seconds |
Once unlocked, players can equip the Railgun in their Stratagem loadout before deploying on a mission. Calling it down provides access to the weapon, while subsequent deployments are governed by its Stratagem cooldown.
For newer players, reaching Level 20 should be the first priority. Completing missions, collecting samples, eliminating enemy forces, and completing available objectives will help accelerate progression and build up the Requisition Slips needed for the purchase.
Railgun Weapon Mechanics: Safe Mode vs. Unsafe Mode
The Railgun's defining feature is its two firing modes: Safe and Unsafe. Understanding their differences is essential because they directly affect the weapon's damage output and the risk involved in combat.
Safe Mode
Safe Mode provides a more controlled firing experience. Players can hold the trigger to charge the weapon and release it when ready without worrying about overcharging.
This mode is suitable for beginners who are still learning the weapon's timing. It also allows players to prepare shots while waiting for enemies to enter their line of sight.
However, Safe Mode limits the weapon's damage potential compared with a fully charged Unsafe Mode shot.
Unsafe Mode
Unsafe Mode removes the normal charging limit, allowing the Railgun to build additional power before firing. The longer players hold the trigger, the more damage the weapon can deliver.
At maximum effective charge, the Railgun can reach approximately 2.5 times its standard damage output. This makes Unsafe Mode particularly valuable against heavily armored enemies and vulnerable weak points.
There is one major drawback: holding the trigger for too long causes the weapon to explode, potentially killing the user.
Players should monitor the charge indicator carefully and release the trigger before the weapon reaches its overload threshold.
| Feature | Safe Mode | Unsafe Mode |
|---|---|---|
| Charging | Limited charge | Extended charge |
| Damage | Standard | Increased |
| Overcharge Risk | No | Yes |
| Best Use | Controlled engagements | Heavy enemies and weak points |
| Difficulty | Beginner-friendly | Requires precise timing |
For most experienced players, Unsafe Mode offers greater combat potential. However, Safe Mode remains a reliable option when accuracy and survival are more important than maximizing damage.
Best Ways to Use the Railgun in Combat
The Railgun is designed for precision rather than continuous damage output. It carries one round per reload, so every shot should have a clear purpose.
Here are several practical ways to improve its effectiveness.
1. Target Enemy Weak Points
The most important Railgun technique is aiming for vulnerable enemy parts rather than repeatedly shooting heavily armored sections.
Against Automatons, prioritize weak points such as the eye area of Hulks. Well-placed, sufficiently charged shots can eliminate dangerous targets much faster than firing randomly at their bodies.
Against Terminids, focus on exposed or vulnerable sections instead of wasting ammunition on areas that offer little damage value.
2. Use Unsafe Mode Against Heavy Targets
When facing dangerous armored enemies, Unsafe Mode provides the additional damage needed to make the Railgun more effective.
For example, a properly charged shot aimed at a Hulk's eye can be extremely effective. Against Chargers, players can use charged shots to damage vulnerable armor sections and create opportunities for follow-up attacks.
Remember that overcharging does not automatically guarantee a kill. Shot placement and enemy-specific damage thresholds still matter.
3. Reload Immediately After Every Shot
The Railgun has a single-round capacity, meaning players must reload after every shot.
Developing a habit of reloading immediately after firing helps prevent situations where an unexpected enemy attack arrives while the weapon is empty.
Players should also take advantage of cover during the reload animation, especially when fighting groups of Automatons.
4. Use First-Person Aiming to Monitor Charge
Although third-person aiming is convenient during regular combat, first-person aiming provides a clearer view of the Railgun's charge indicator.
This makes it easier to recognize when the weapon is approaching its maximum safe charging window.
For players learning Unsafe Mode, practicing in first-person view can significantly improve timing and reduce accidental self-destruction.
5. Manage Your Ammunition Carefully
The Railgun has a limited ammunition supply, despite its strong damage output. It is not designed to eliminate every enemy encountered during a mission.
Instead, prioritize dangerous armored units, high-value targets, and enemies that threaten your squad's survival.
Save conventional ammunition and primary weapons for weaker enemies, allowing the Railgun to fulfill its intended anti-armor role.
Best Combat Situations for the Railgun
The Railgun is particularly useful when missions involve dangerous armored enemies and precision shooting opportunities.
| Combat Situation | Recommended Approach |
|---|---|
| Hulk Encounters | Use Unsafe Mode and aim for the eye |
| Charger Encounters | Target vulnerable armor sections |
| Automaton Heavy Units | Prioritize exposed weak points |
| Groups of Weak Enemies | Use primary weapons instead |
| Long-Range Engagements | Take controlled shots at priority targets |
The weapon is especially attractive for players who prefer an aggressive precision-based playstyle. It can also complement teammates carrying weapons focused on crowd control or explosive damage.
However, players should remember that the Railgun is not a universal replacement for dedicated anti-tank Stratagems. Some large enemies and structures require different weapons or coordinated squad attacks.
Recommended Tips for New Railgun Users
Players unlocking the Railgun for the first time should focus on mastering its mechanics before attempting to maximize damage.
A few habits can make a noticeable difference:
- Start with Safe Mode to understand the weapon's charging behavior.
- Switch to Unsafe Mode when facing heavily armored enemies.
- Watch the charge indicator instead of relying entirely on timing.
- Reload immediately after every shot.
- Avoid charging while standing in exposed positions.
- Coordinate with teammates to create safe opportunities for precision shots.
- Reserve ammunition for dangerous enemies rather than weaker targets.
Players should also consider their overall Stratagem loadout. Pairing the Railgun with defensive or crowd-control options can help compensate for its slow firing cycle and limited ammunition capacity.
Is the Railgun Worth Unlocking?
For players who enjoy precision shooting and fighting heavily armored enemies, the Railgun is a worthwhile addition to their Stratagem collection.
Its ability to deliver powerful charged shots makes it particularly valuable against certain Automaton units and other dangerous targets with vulnerable weak points. The weapon also offers flexibility through its two firing modes, allowing players to balance safety and damage depending on the situation.
However, it does require practice. Its single-round capacity, charging mechanic, and risk of overcharging mean that inexperienced players may initially struggle to use it efficiently.
Ultimately, the Railgun rewards accuracy, patience, and good battlefield awareness. Players who master its timing can turn it into a dependable part of their squad's anti-armor arsenal.
For players looking to improve their overall loadout and explore more equipment options, EZBUFF also provides information about Helldivers 2 items and progression-related resources. Whether you are preparing for more difficult missions or expanding your collection, understanding how different equipment works can help you build a more effective Helldiver.
