


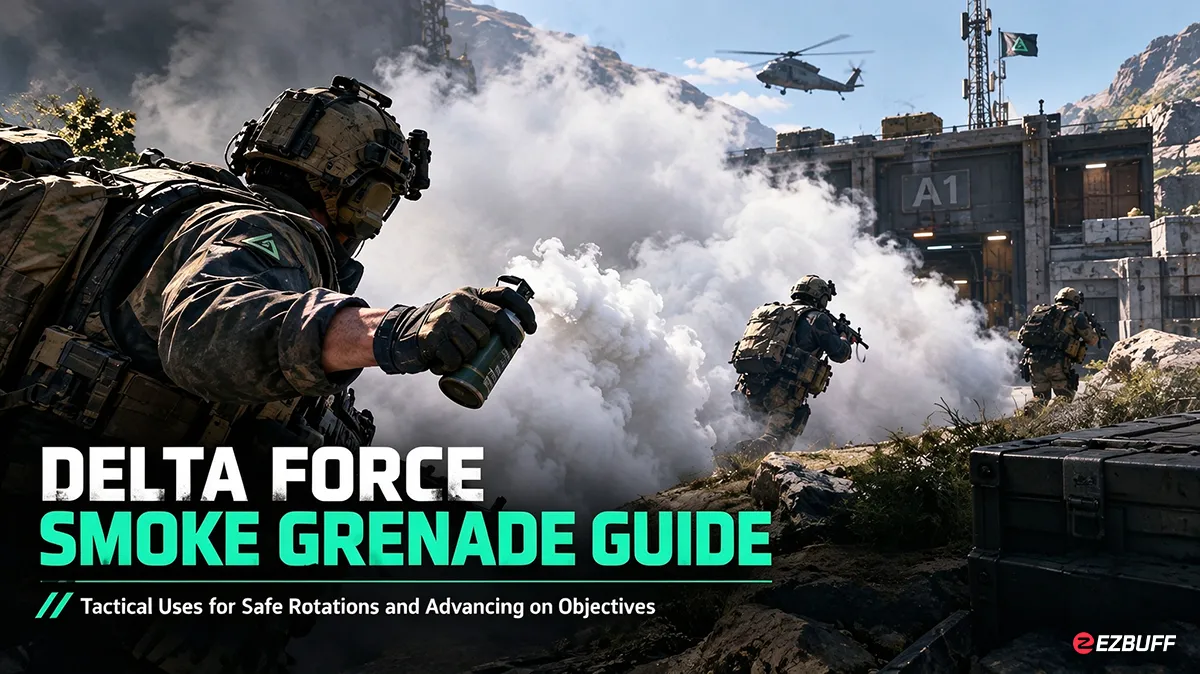
In Delta Force, winning a firefight is not always about having better aim or dealing more damage. Positioning, timing, and utility usage can determine whether a squad successfully crosses an exposed area, rescues a teammate, or captures a heavily defended objective. Smoke grenades are among the most useful tactical tools for controlling visibility and creating opportunities to move under pressure.
Whether you are fighting across large-scale Warfare maps or navigating dangerous encounters in Operations, understanding when and where to deploy smoke can improve your team's survival and combat efficiency. This Delta Force smoke grenade guide covers practical deployment techniques, safe rotations, objective pushes, and common mistakes to avoid.
What Do Smoke Grenades Do in Delta Force?
Smoke grenades create a temporary visual obstruction that can interfere with enemy sightlines. They are particularly valuable when opponents control long shooting lanes, elevated positions, narrow entrances, or open ground that your squad must cross.
The official Delta Force website also describes a short-duration Smoke Grenade gadget designed for breaching, highlighting its role in temporarily obstructing vision. Specific effects, available charges, and equipment options can vary by Operator and game mode, so players should check their current loadout before entering a match.
Smoke is most effective when it supports a clear tactical objective. Throwing it without a plan can obscure friendly sightlines, delay an attack, or give defenders an opportunity to reposition.
1. Use Smoke Grenades to Create Safer Rotations
Rotations are essential when your current position becomes dangerous, an objective changes hands, or your squad needs to approach the enemy from another direction.
Crossing open terrain without concealment can expose players to snipers, machine-gun fire, and enemies watching predictable routes. Smoke can temporarily interrupt those sightlines and create a window for movement.
Identify the Next Position Before Throwing
Before deploying a grenade, identify your destination and the cover available along the route. A good rotation might involve moving from a concrete barrier to a wrecked vehicle, then toward a building or another defensible position.
Use smoke to cover the most exposed section rather than throwing it randomly near your squad. Once the grenade activates, move promptly toward the next piece of cover instead of remaining inside the cloud.
Avoid Predictable Movement
Experienced opponents may fire into smoke or watch its edges for players attempting to escape. Changing your route, using nearby cover, and avoiding unnecessary exposure can reduce this risk.
Remember that smoke does not make you invulnerable. Enemies can still use sound, map awareness, and area-denial tactics to anticipate your movement.
2. Push Objectives Without Blocking Your Own Team
Smoke grenades can be especially effective during objective-based combat, where attackers must cross exposed ground or challenge defenders holding advantageous positions.
The key is to obstruct the enemy's ability to observe and engage your squad while preserving useful angles for friendly players.
Smoke Enemy Sightlines, Not Every Entrance
One common mistake is throwing smoke directly into a doorway or narrow chokepoint before an assault. Although the cloud may conceal advancing teammates, it can also prevent them from seeing defenders inside the room.
A more deliberate approach is to place smoke near enemy firing positions or across the sightlines covering the approach. This can make it harder for defenders to track the attacking squad while allowing teammates to maintain visibility into the entry point when possible.
The correct placement depends on the room layout, grenade behavior, and enemy positions. Always consider which team benefits most from the resulting loss of visibility.
Coordinate the Push With Teammates
Smoke works best when paired with coordinated movement. One player can deploy the grenade while teammates prepare to advance, suppress defenders, or cover alternative angles.
A simple objective-push sequence looks like this:
- Identify the defenders and the most dangerous firing angles.
- Choose a smoke placement that disrupts those angles.
- Communicate the intended route to your squad.
- Advance while the smoke provides cover.
- Secure nearby cover before challenging remaining defenders.
Avoid allowing the entire squad to enter the same smoke cloud without a clear plan. Maintaining spacing and covering different angles makes it easier to respond if enemies push through the obscured area.
3. Protect Revives and Recover From Disadvantageous Fights
A downed teammate can leave a squad vulnerable, particularly when the casualty occurs in an open area or near a heavily contested objective. Smoke can help create an opportunity to revive the player or reposition before attempting another engagement.
Before throwing the grenade, check whether nearby enemies have a clear line of sight to the casualty. If possible, deploy smoke between the enemy's firing position and the revive location rather than placing it where it completely obscures your own approach.
Use the temporary concealment to move into a safer position, complete the revive when conditions allow, and withdraw if the enemy continues applying pressure.
Do not automatically attempt every revive. If opponents have established control of the area, a smoke grenade may not provide enough protection to justify the risk of losing another squad member.
4. Use Smoke to Counter Snipers and Long-Range Pressure
Long sightlines can make certain routes difficult to cross, especially when enemy players control rooftops, elevated terrain, or open approaches to an objective.
Smoke offers a temporary way to disrupt visual tracking and reduce the time your squad spends exposed. Rather than covering an entire battlefield, concentrate on the specific lane that prevents your team from advancing.
For example, if a sniper is watching a road between two defensive positions, place smoke across the exposed crossing and move toward the next available cover. If several enemies are watching from different angles, a single grenade may not provide sufficient concealment, so consider an alternate route or coordinate additional utility.
Keep in mind that smoke does not remove enemy threats. Opponents may change their firing positions, wait for the cloud to dissipate, or attack your squad from another direction.
5. Adjust Smoke Tactics for Warfare and Operations
Although smoke can serve similar purposes across Delta Force, the consequences of a failed move differ between game modes.
Warfare: Support Team Movement and Objective Control
Warfare features large-scale battles in which squads must repeatedly attack, defend, and reposition around objectives. Smoke can help infantry cross exposed terrain, approach fortified positions, and support teammates during contested advances.
Use it to solve an immediate positioning problem rather than deploying it whenever the grenade becomes available. Well-timed concealment can help a squad maintain pressure, while poorly placed smoke may interfere with friendly players defending an important angle.
Operations: Prioritize Survival and Extraction
Operations emphasizes looting, combat, and extracting with collected resources. Because losing a fight can mean losing valuable equipment and loot, unnecessary exposure can carry a substantial cost.
Smoke may help you disengage from an unfavorable encounter, cross a dangerous area, or create an opportunity to reach cover. However, concealment alone does not guarantee a successful extraction.
Before committing to a route, consider nearby threats, available cover, your remaining supplies, and whether the fight is worth taking. If an engagement offers little benefit, using smoke to disengage can be a better decision than spending additional resources trying to win it.
6. Common Smoke Grenade Mistakes to Avoid
Even a useful tactical tool can become a liability when deployed without considering the surrounding fight.
| Mistake | Why It Hurts | Better Approach |
|---|---|---|
| Throwing smoke directly into every doorway | Blocks friendly vision during entry | Obstruct defenders' sightlines when possible |
| Deploying smoke without a destination | Wastes concealment without improving positioning | Identify the next piece of cover first |
| Remaining inside the smoke too long | Gives enemies time to predict your movement | Move decisively toward a safer position |
| Ignoring enemy angles | Other opponents may still have clear shots | Check multiple sightlines before advancing |
| Using smoke without team communication | Teammates may push at different times | Call the route and coordinate the advance |
| Treating smoke as complete protection | Enemies can still use sound and area attacks | Combine concealment with movement and cover |
The most important principle is simple: smoke should improve your team's options, not merely make the battlefield harder to see.
7. Prepare Your Loadout and Manage Resources Efficiently
A reliable tactical loadout should support the way you intend to fight. Players who frequently lead objective pushes may prioritize equipment that helps them enter contested areas, while those who prefer defensive positions may focus on holding lanes and supporting teammates.
Before deploying, review your available gadgets, ammunition, medical supplies, and other equipment. Confirm which Operator abilities are available and how they fit your intended role.
In Operations, resource management also matters. The official Operations Mode guide identifies Tekniq Alloy as the mode's main currency, earned by selling items obtained through looting and defeating enemies. Players should evaluate the value of their collected resources and the risks associated with each encounter before committing to unnecessary fights.
For players researching progression and equipment-related costs, the search term Buy Delta Force Tekniq Alloy may also be relevant when comparing available options. However, currency management should remain separate from tactical decisions: having more resources does not replace good positioning, communication, or effective utility usage.
EZBUFF readers looking to improve their Delta Force experience should focus on practical gameplay knowledge alongside responsible resource planning. Learning how to deploy equipment effectively can help make each match more productive without turning every encounter into an unnecessary risk.
Frequently Asked Questions
When should you use a smoke grenade in Delta Force?
Use smoke when you need to cross an exposed area, disrupt enemy sightlines, support an objective push, protect a revive, or disengage from a dangerous fight. Deploy it with a specific route or tactical goal in mind.
Should you throw smoke at a doorway before entering?
Not automatically. Smoke placed directly in an entrance can block your team's view of defenders. Consider obstructing the enemy's firing angles instead, while keeping the entry point visible whenever possible.
Can smoke grenades stop snipers from shooting?
Smoke can obstruct a sniper's visual tracking and temporarily conceal movement through a covered lane. However, it does not guarantee safety, since enemies may reposition, fire toward the cloud, or use other information to anticipate your route.
Is smoke useful in both Warfare and Operations?
Yes, although the priorities differ. Warfare players can use smoke to support coordinated advances and objective control, while Operations players may value it for repositioning, escaping dangerous encounters, and protecting their route toward extraction.
What is Tekniq Alloy used for in Delta Force?
Tekniq Alloy is the main currency described in the official Operations Mode guide. Players can obtain it by selling items collected during raids or taken from defeated enemies. Check the current in-game economy for applicable prices and uses.
Final Takeaway
Smoke grenades are most effective when they solve a specific tactical problem. Whether you are rotating between defensive positions, crossing a sniper's sightline, reviving a teammate, or pushing a contested objective, the goal is to create a temporary advantage and use it before the opportunity disappears.
Prioritize intelligent placement, communicate with your squad, and avoid obscuring your own team's most important angles. In Delta Force, disciplined utility usage can turn a risky movement into a coordinated advance—and help your squad make better decisions when every second matters.
